How to Make a Super Easy and Fast No Sew Bow Hair Tie!
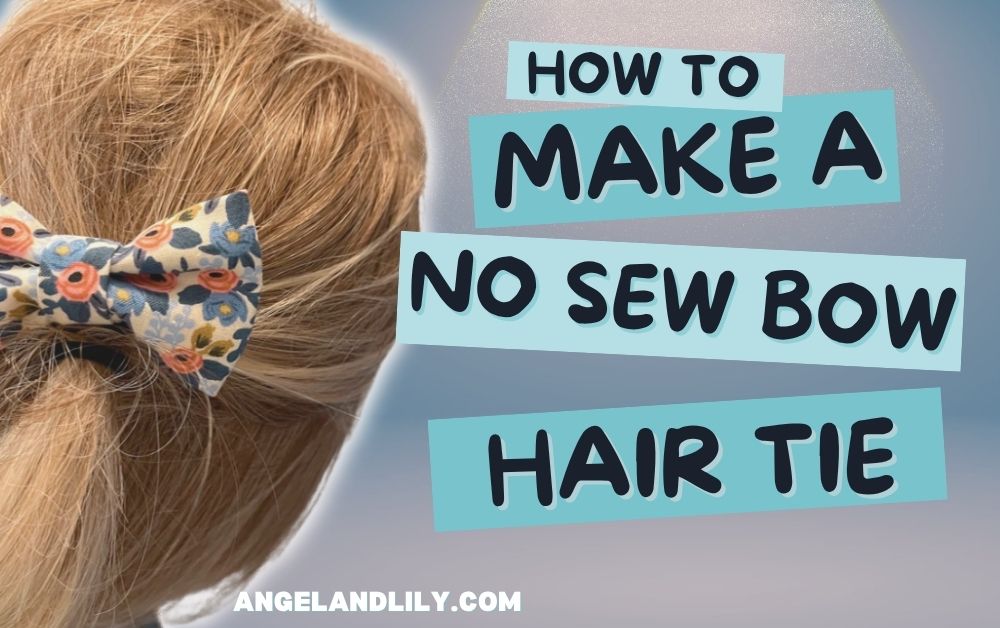
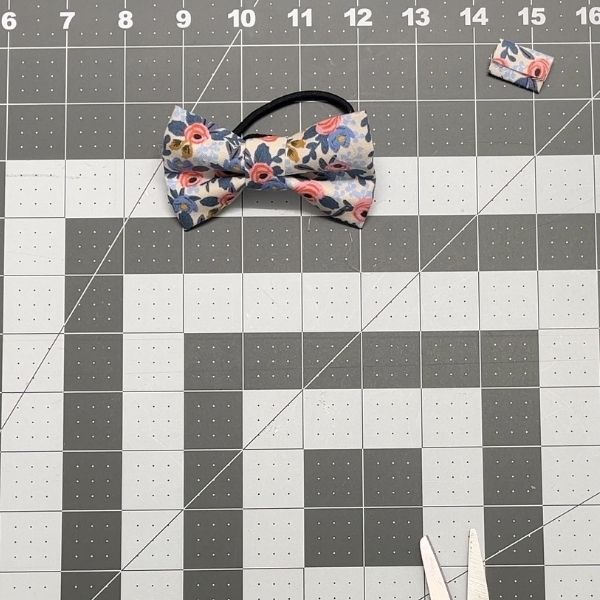
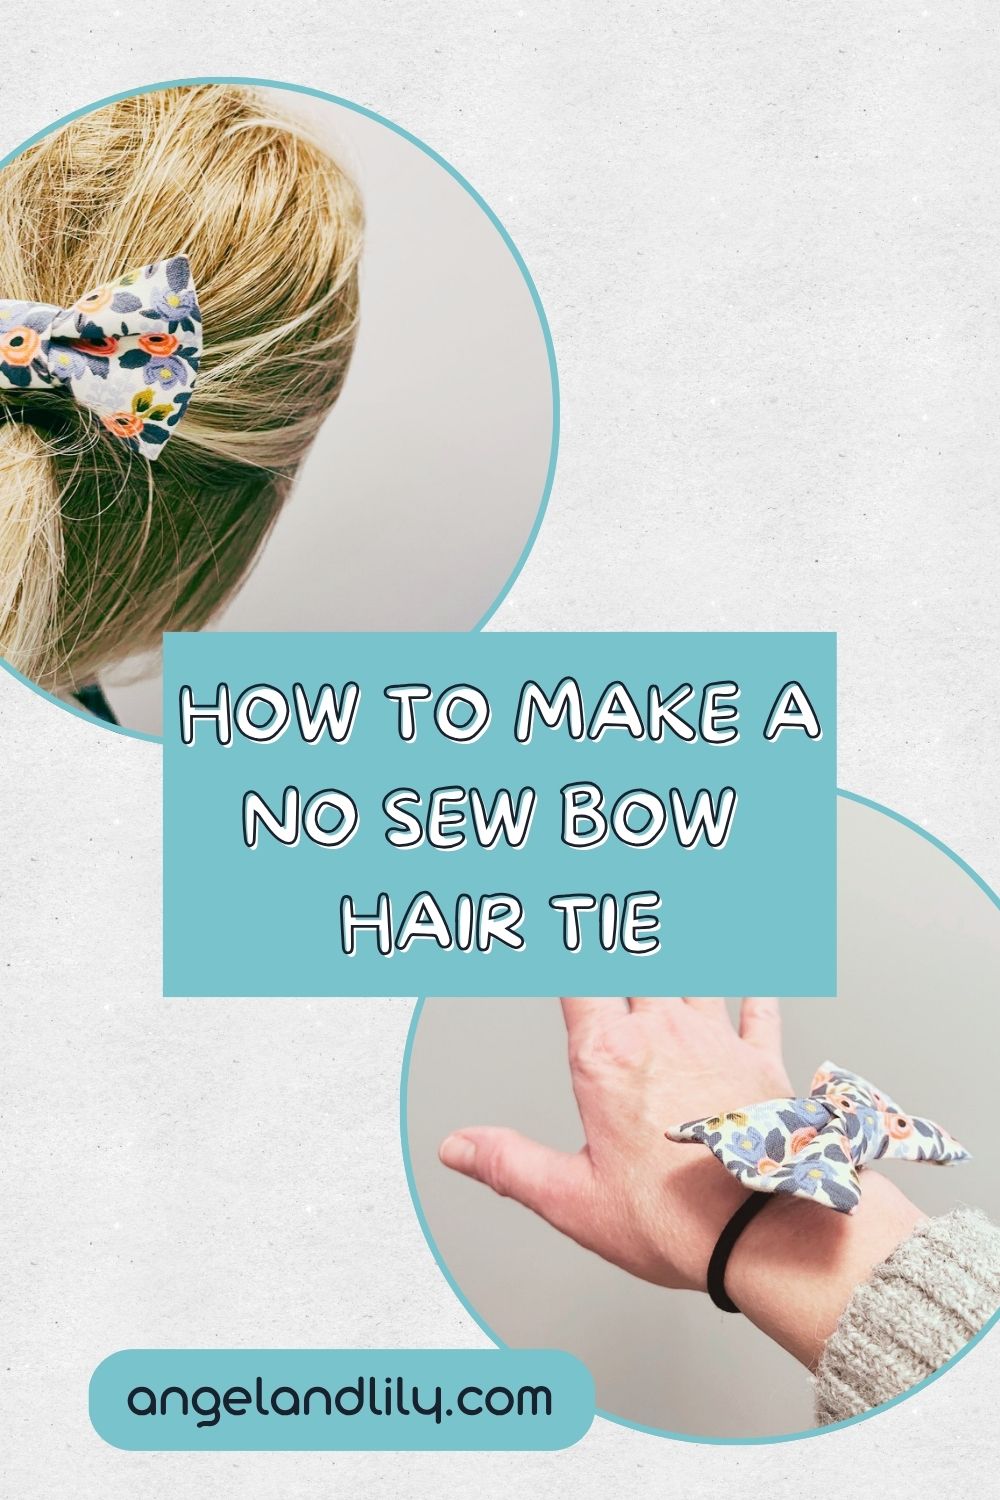
Follow along to learn how to make a super fast, fun and easy no sew bow hair tie! Made with small pieces of fabric and a plain old elastic hair tie, you can make a bunch of these to match every outfit in an afternoon!
*Some links in this post are affiliate links, which means if you make a purchase, I may earn a small commission (at no extra cost to you). As an Amazon Associate I earn from qualifying purchases. This helps keep the treat jar full for my pup, Ozzy! Thanks for supporting my blog!
Materials You’ll Need:
- Fabric: Use any scraps you have or grab some from from my Amazon link, Michaels, Walmart or your local thrift store
- Fabric Scissors
- Glue Gun and Glue Sticks
- Elastic Hair Ties
- Felt Circles (Optional)
(Caution: Be careful with the glue gun and hot glue. That sh*t gets hot! Don’t be like me and burn yourself!)
Step-by-Step Guide:
1- Get Ready:
Gather all materials and heat up your glue gun.
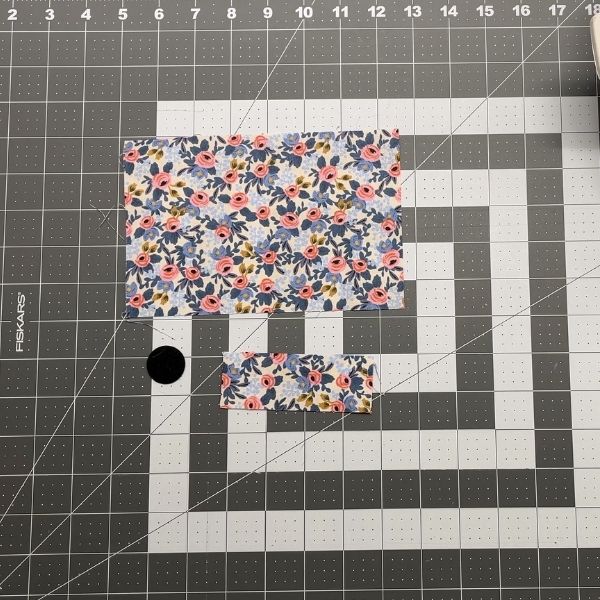
2- Cut the Fabric:
Small: 7.5″ x 5″ (body) & 1.5″ x 4″ (center) – finished size: 3.5″ x 2″
3- Assemble the Bow Body
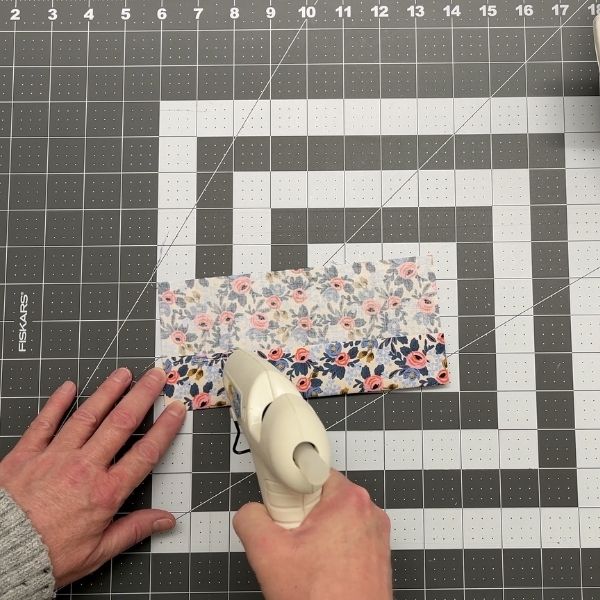
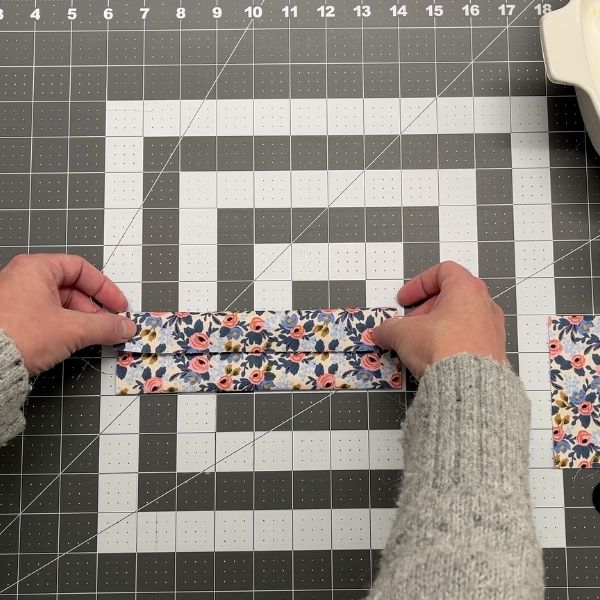
Place the body fabric face down, fold one long edge over by about a third, add a thin line of glue along the edge, then fold the other side over to overlap and press down.
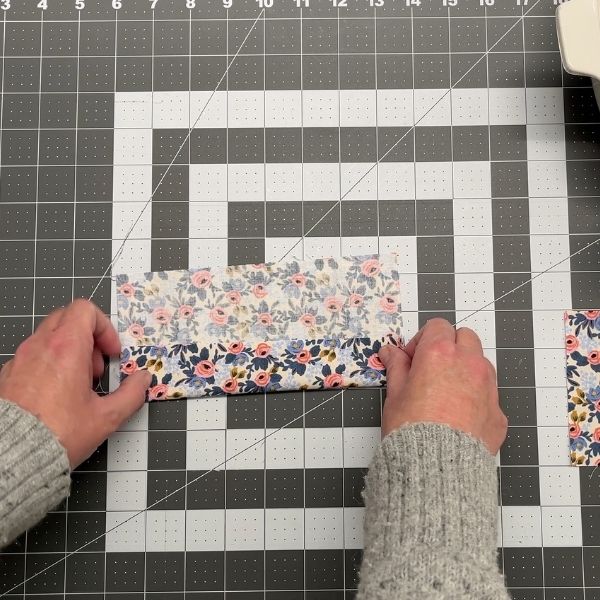
4- Complete the Bow Body:
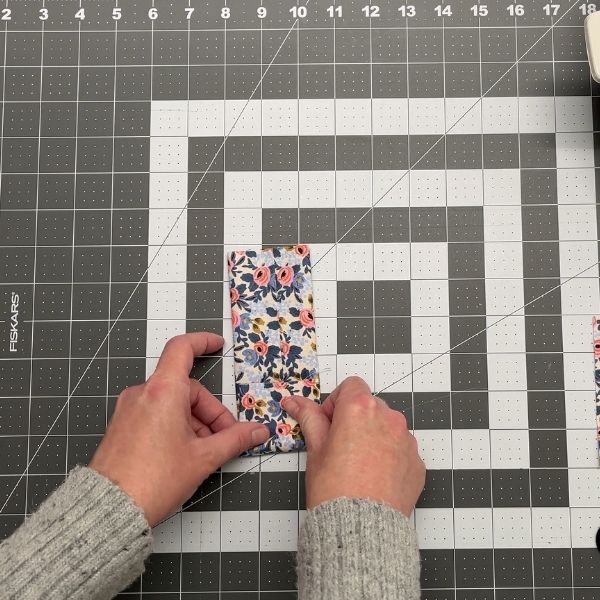
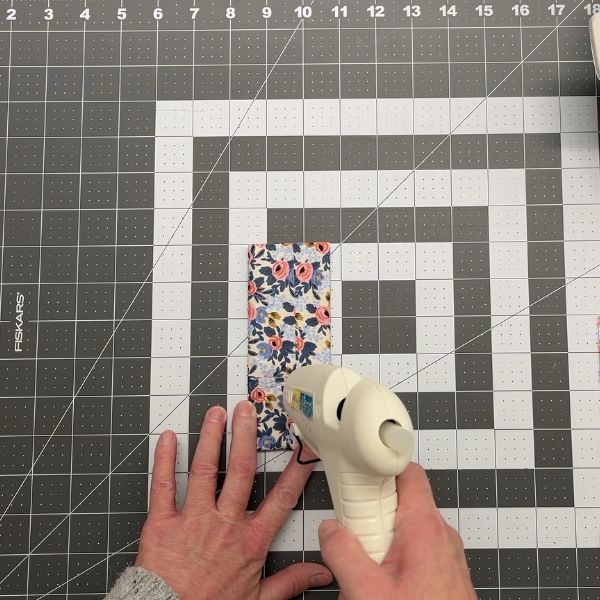
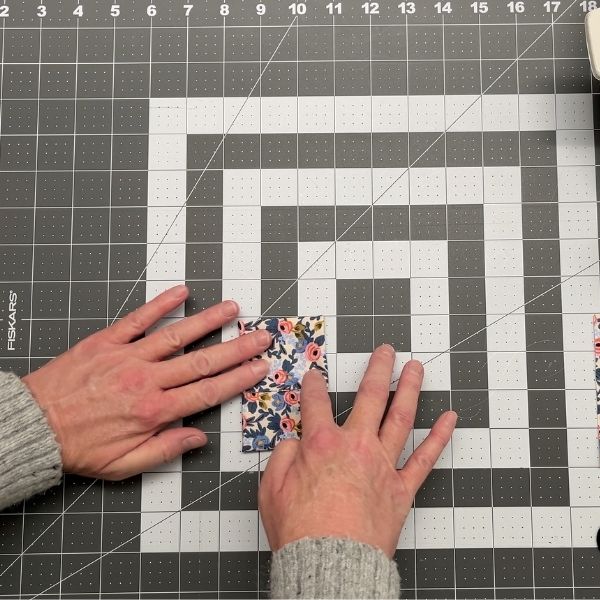
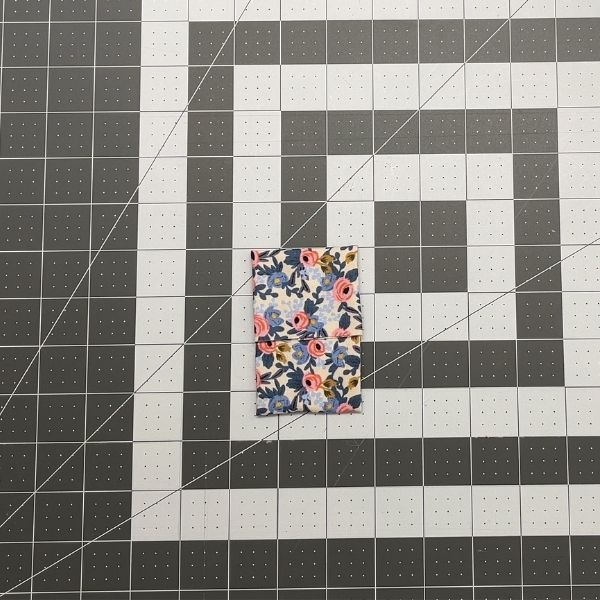
With the glued seam facing up, fold one short end over by a third, add glue, and fold the other short end over so they overlap and press down.
6- Make the Center Piece:
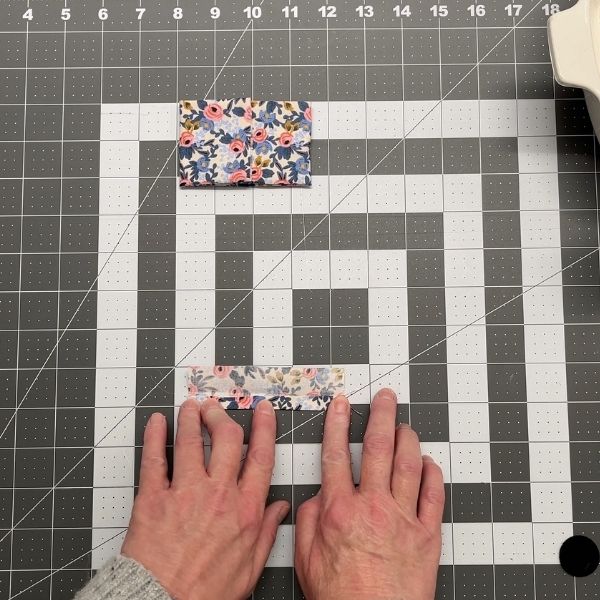
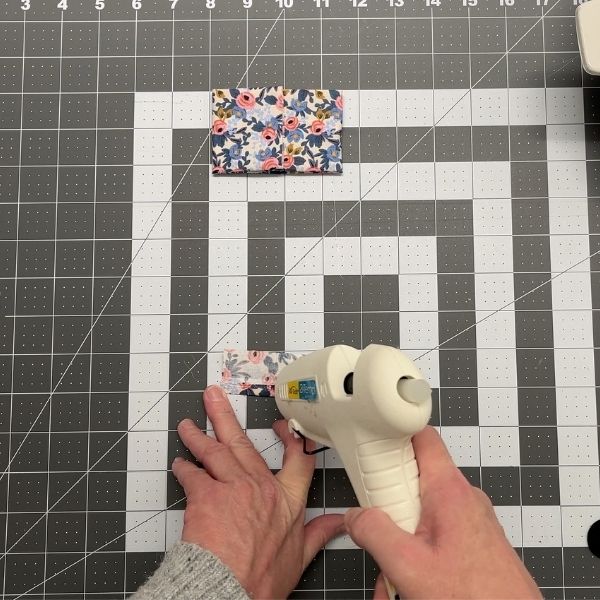
Follow step 3 using the smaller fabric piece.
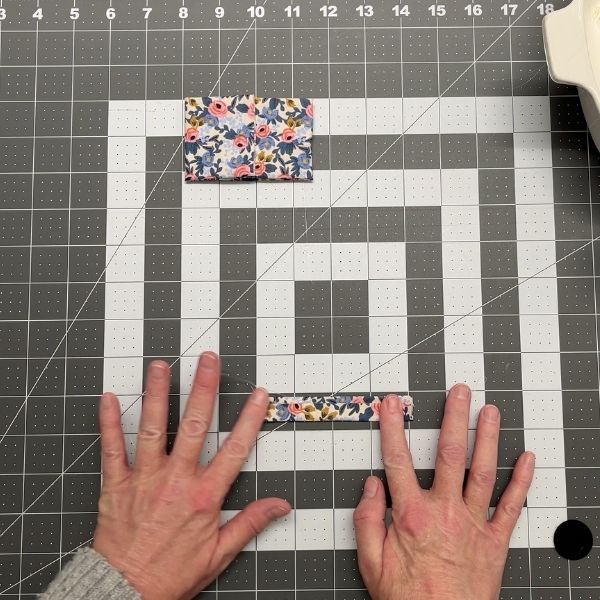
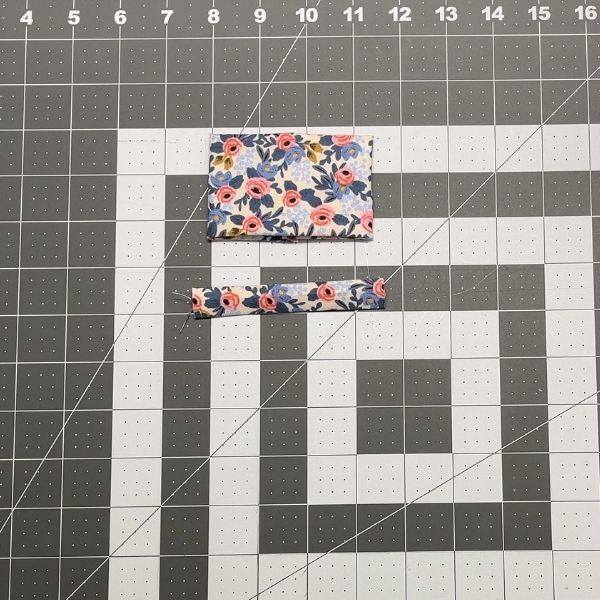
7- Shape the Bow:
With the right side facing up, fold the main bow piece in half, then fold each side down in an accordion style.
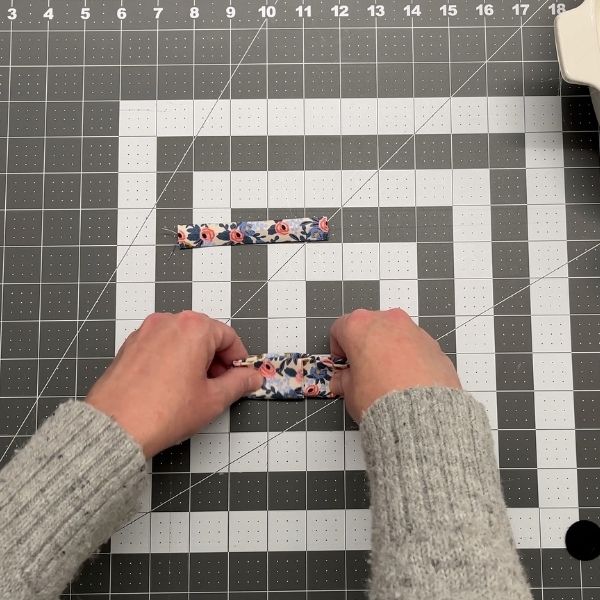
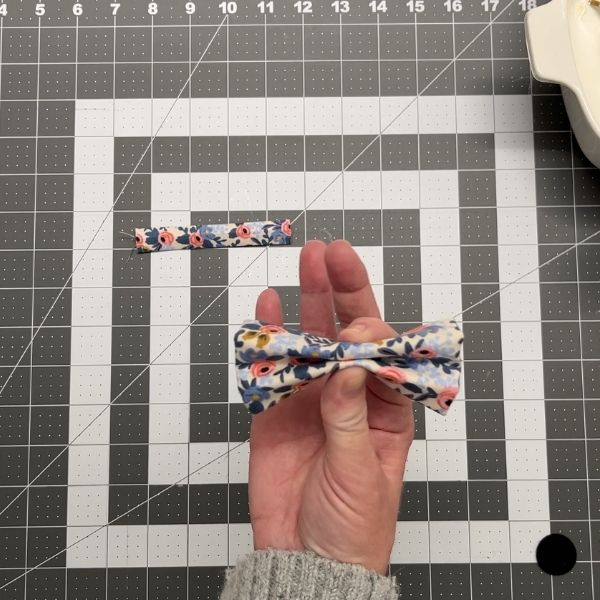
8- Attach the Center:
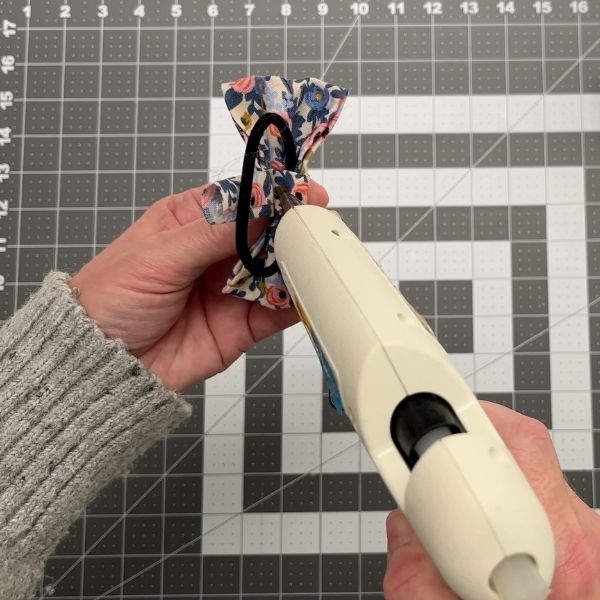
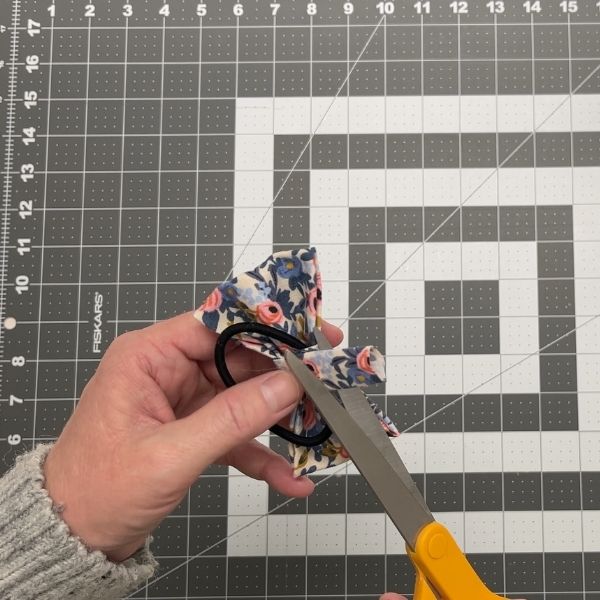
Hold the elastic hair tie to the middle of the back of the bow and tightly wrap the narrow center piece around the bow and the hair tie. Secure it with some glue and cut off the excess fabric.
9- Adjust the Shape:
Adjust the center piece as needed for to make sure that its in the middle of the bow tie.
10- (Optional) Glue on felt circle:
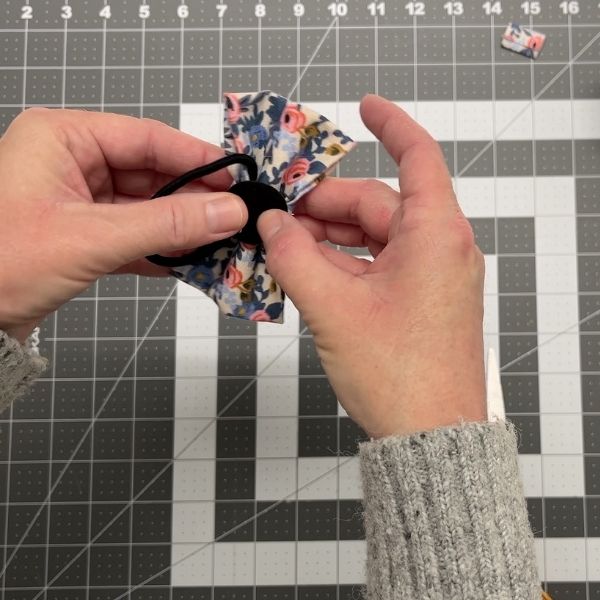
You can hide the unfinished bits on the back with a felt circle or a small piece of matching fabric. This is much easier done with self adhesive felt circles!
11- Secure the center piece:
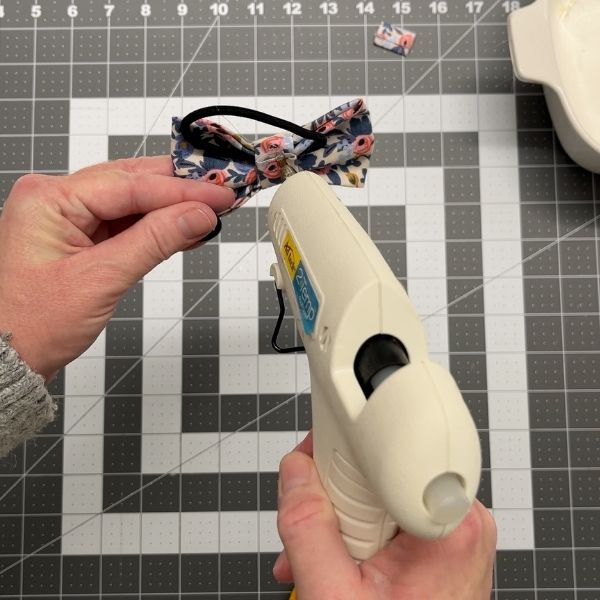
Add a dot of glue underneath the center piece on the back and the sides so it won’t slide around.
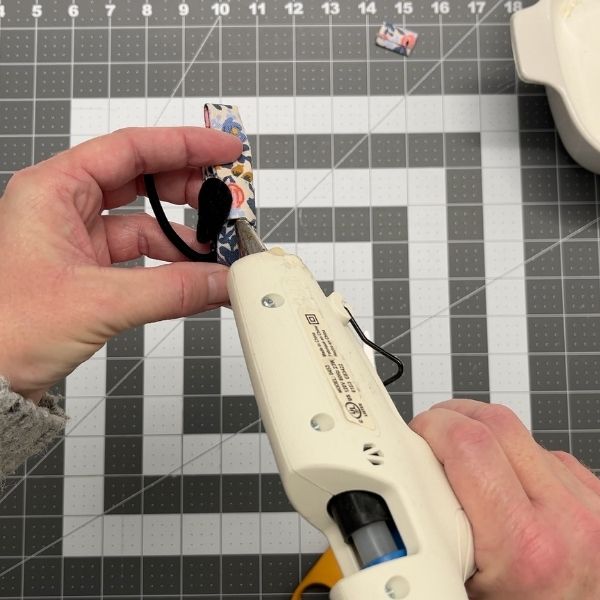
12- Let Glue Set:
Allow a few minutes for the glue to fully dry.
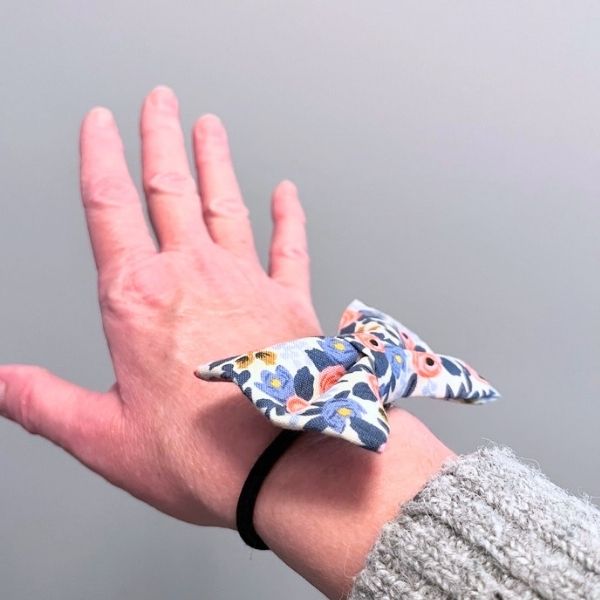
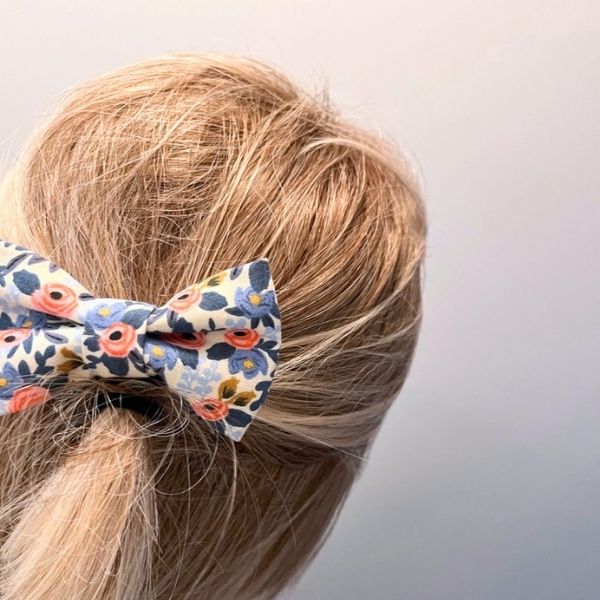
13- Put it on and Admire:
You can wear it on your wrist like a bracelet or wear it in. your hair!
Was this tutorial helpful? Leave me a comment and let me know!
We would love to see your creations! Post a photo on Facebook and tag @angelandlilystudio or on Instagram @ozzyandshana.

Discover more from Angel and Lily Studio
Subscribe to get the latest posts sent to your email.