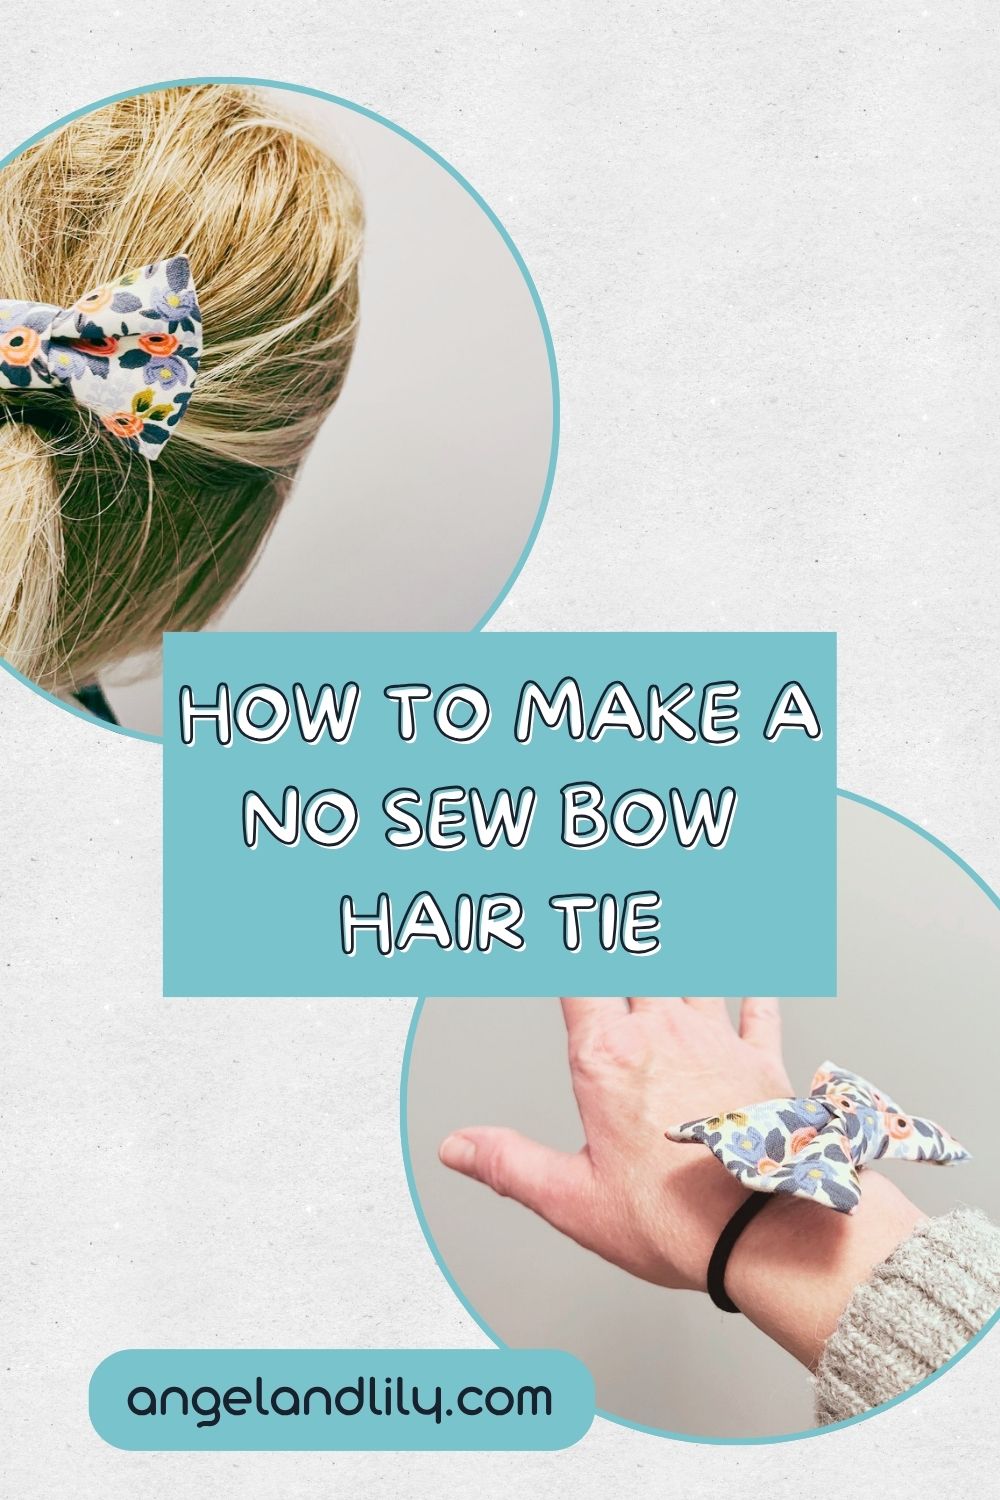
How to Make a No-Sew Dog Bow Tie in Just 5 Minutes!
Updated 8/14/26!!
I added a video, photos and more detailed instructions to make this tutorial easier to follow!
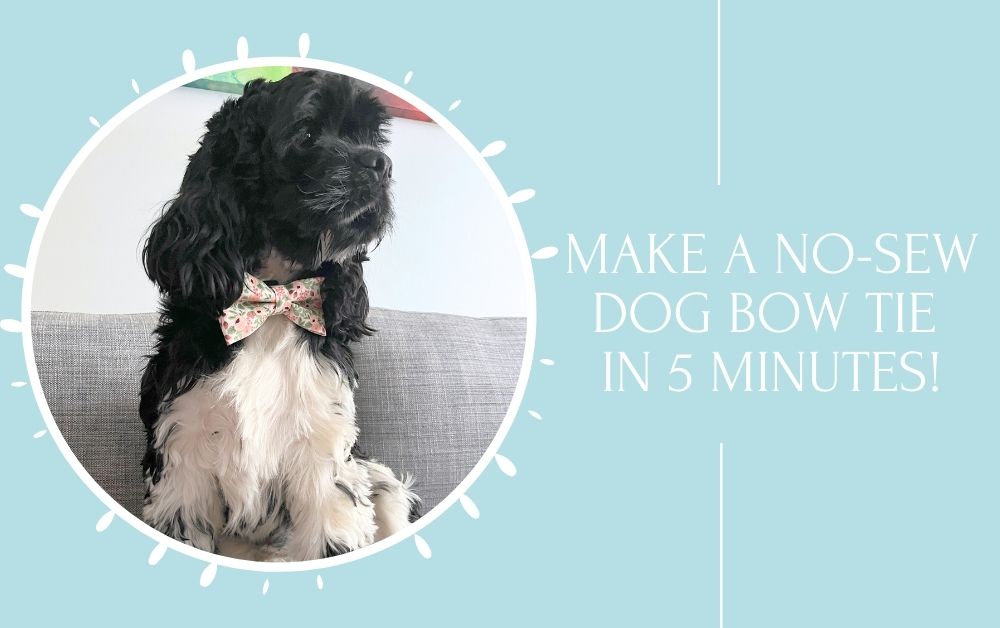
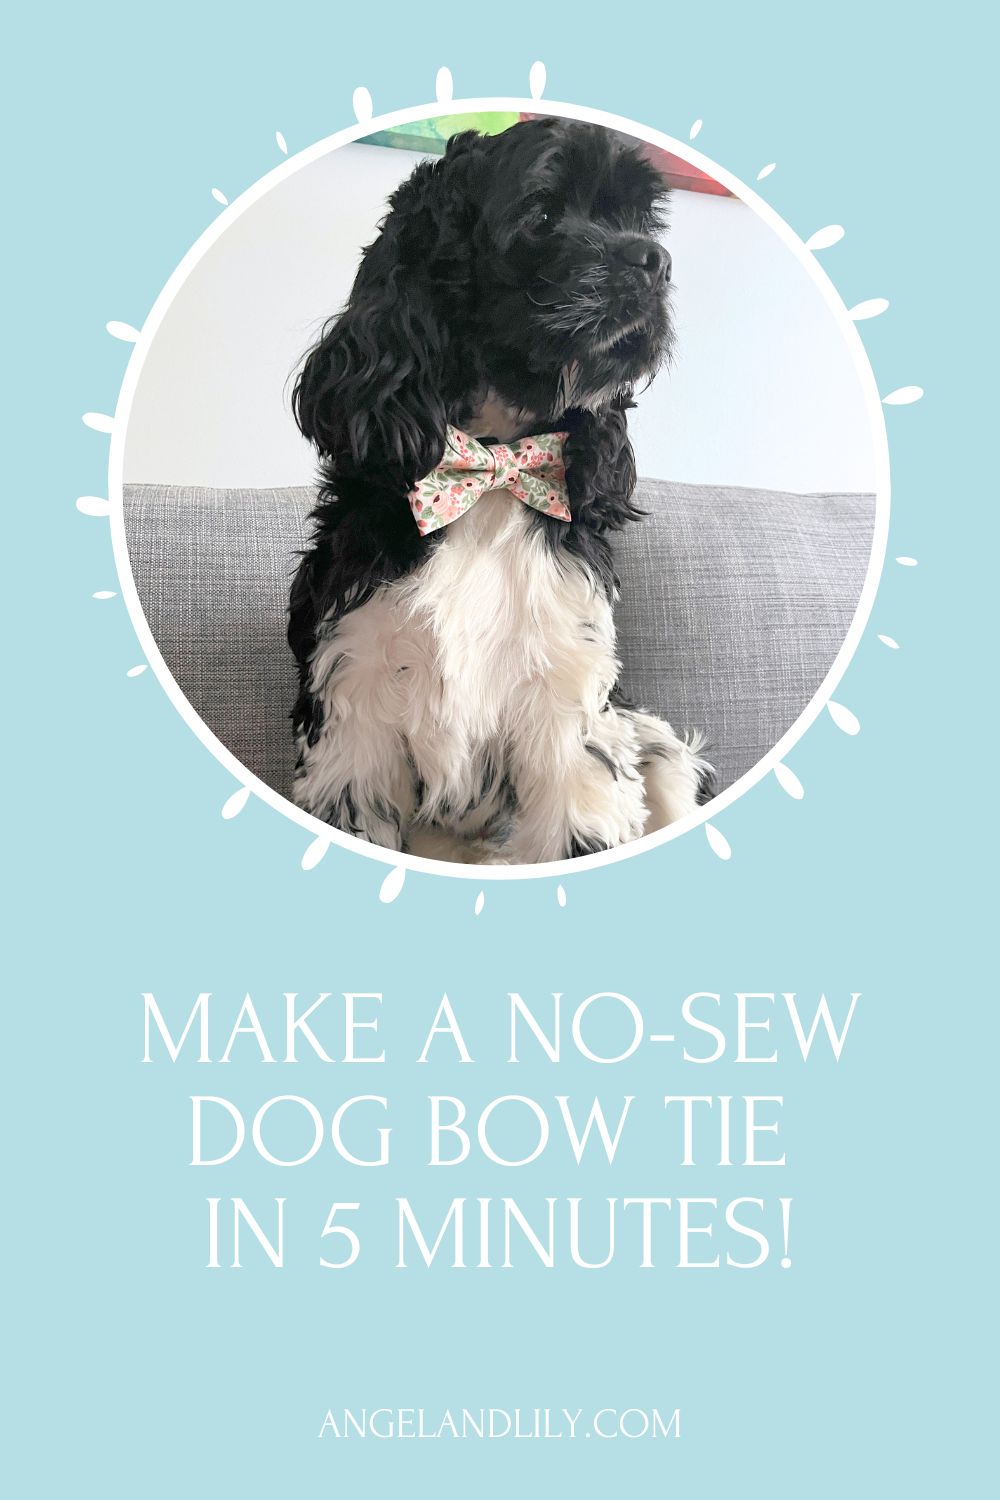
Discover how to make a no-sew dog bow tie in just 5 minutes! This quick and fun DIY project is perfect for pet owners who want a stylish, last-minute accessory without the hassle of sewing. In this tutorial, I’ll show you how to put together a simple, adorable bow tie for your pup using just a few basic supplies, no needles or thread required! Whether it’s for a special event or just to add some flair to your dog’s everyday look, this DIY bow tie will make heads turn.
*Some links in this post are affiliate links, which means if you make a purchase, I may earn a small commission (at no extra cost to you). As an Amazon Associate I earn from qualifying purchases. This helps keep the treat jar full for my pup, Ozzy! Thanks for supporting my blog!
Materials You’ll Need:
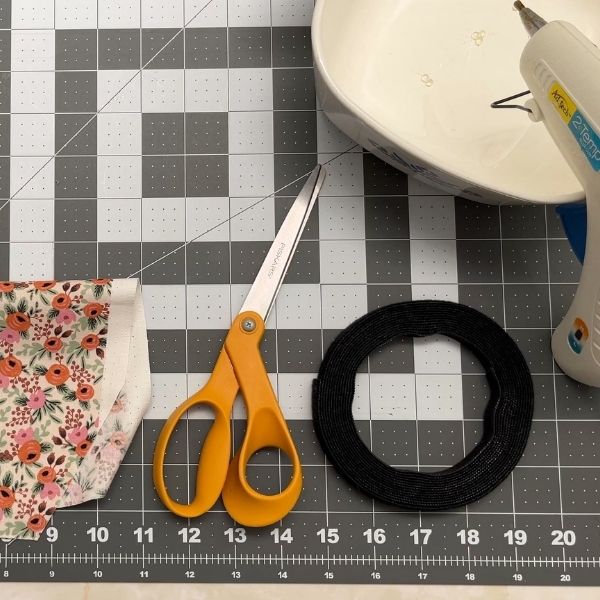
- Fabric: Use any scraps you have or grab some from Michaels, Walmart or your local thrift store
- Fabric Scissors
- Glue gun: I recommend a dual-temp glue gun
- Glue sticks
- 1/2″ wide double-sided hook and loop strip: You can find this at Home Depot, Lowes, or Amazon.
(Caution: Be careful with the glue gun and hot glue. That sh*t gets hot! Don’t be like me and burn yourself!)
Step-by-Step Guide:
1- Get Ready:
Gather all materials and heat up your glue gun.
2- Cut the Fabric:
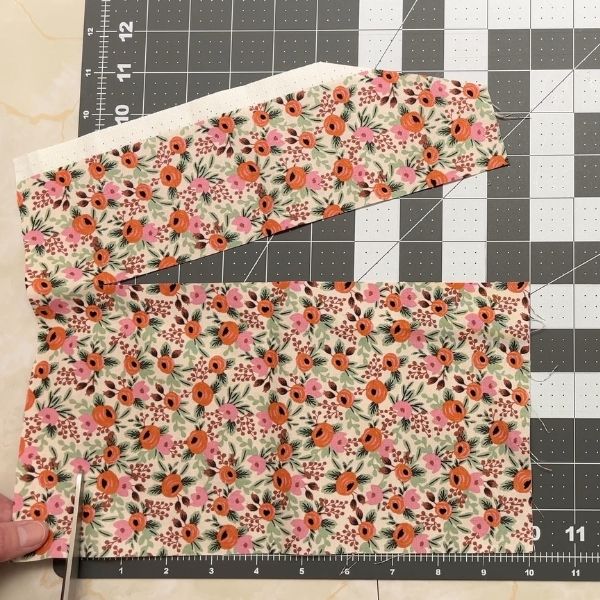
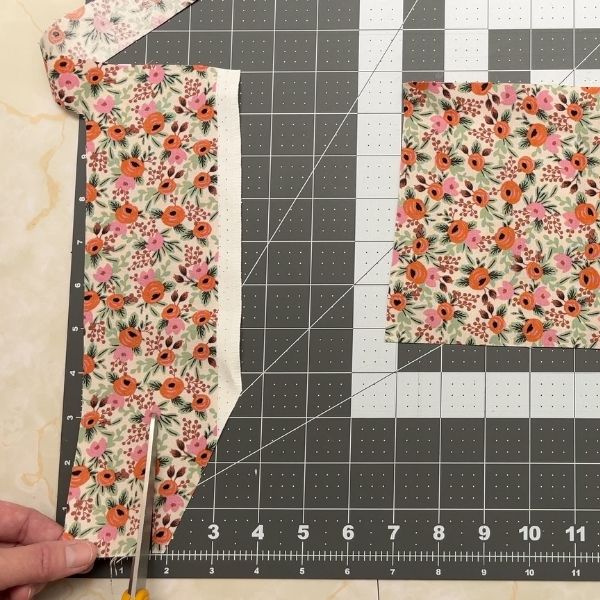
Small: 7.5″ x 5″ (body) & 1.5″ x 2.75″ (center) – finished size: 3.5″ x 2″
Medium: 10″ x 6″ (body) & 1.75″ x 3″ (center) – finished size: 4.5″ x 2.5″
Large: 11.5″ x 7″ (body) & 2″ x 3.25″ (center) – finished size: 5.5″ x 3″
3- Cut hook and loop strip:
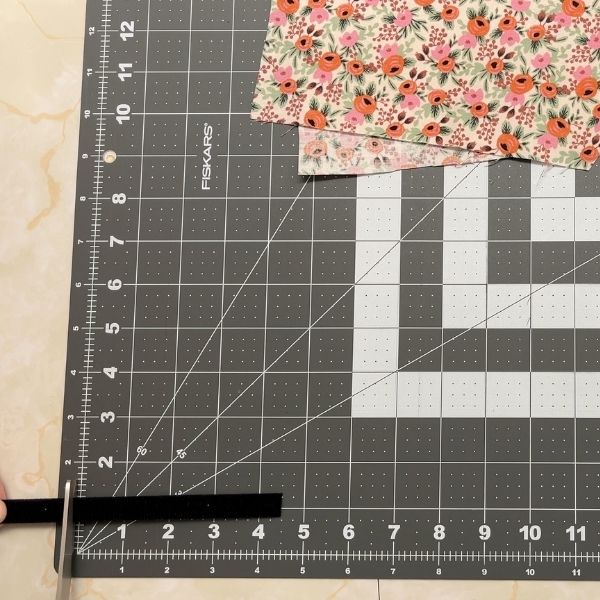
For small bow ties I like to use 4″ hook and loop, medium and large I like to use 4.5″.
4- Assemble the Bow Body:
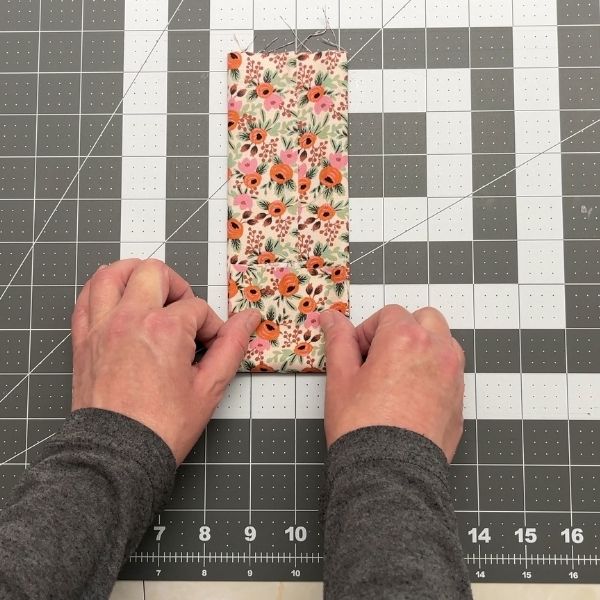
Place the body fabric face down, fold one long edge over by about a third, add a thin line of glue along the edge, then fold the other side over to overlap and press down.
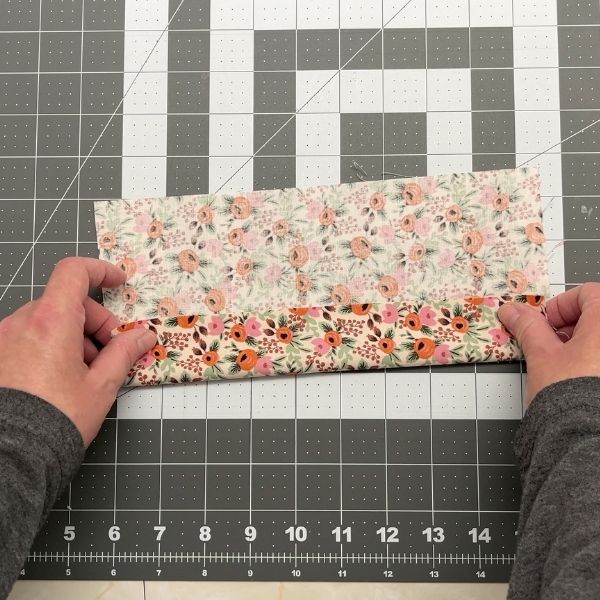
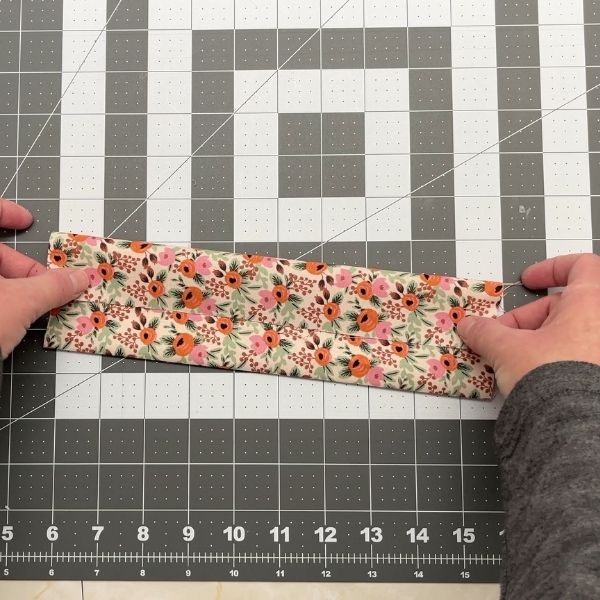
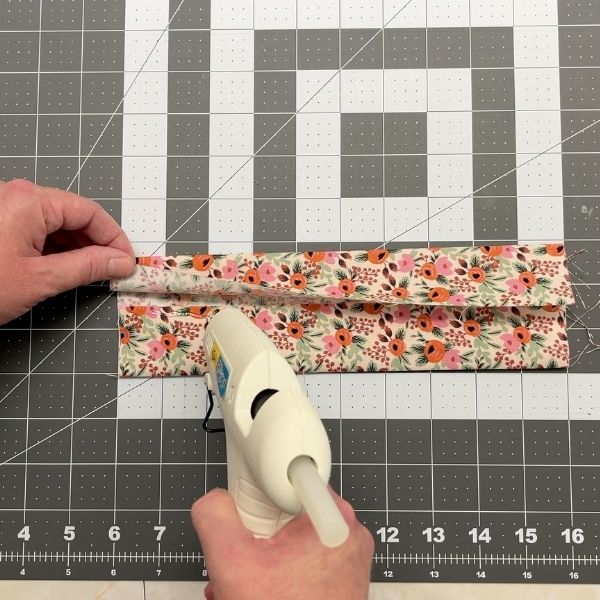
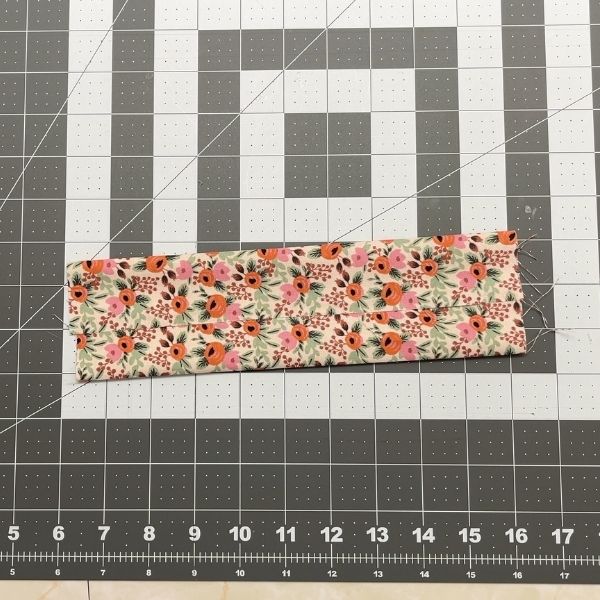
5- Complete the Bow Body:
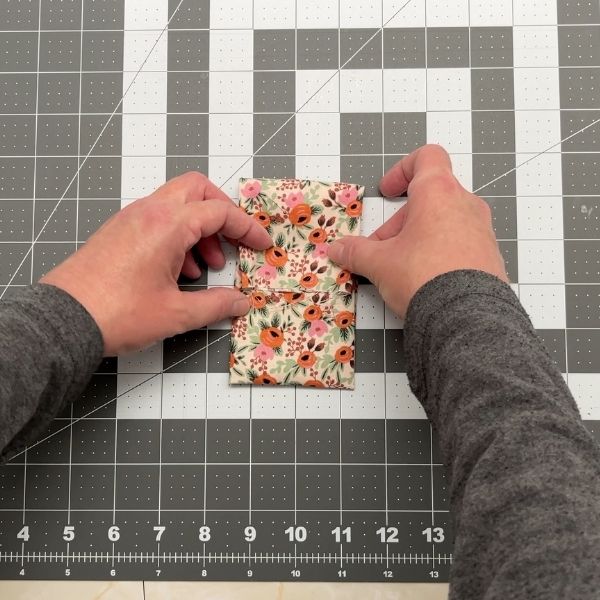
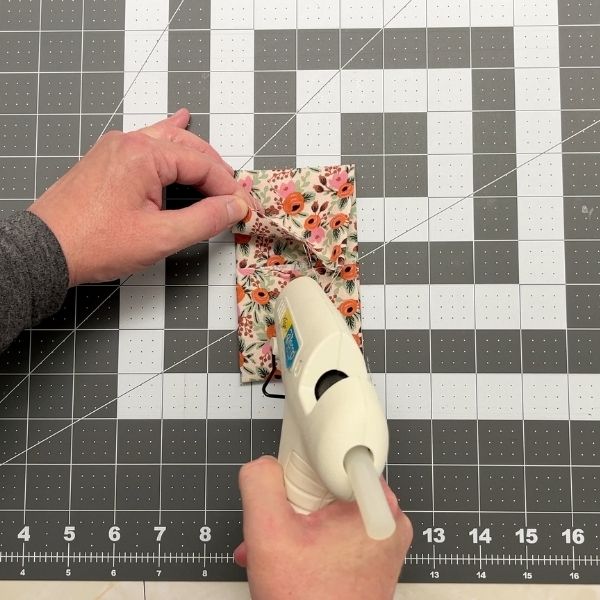
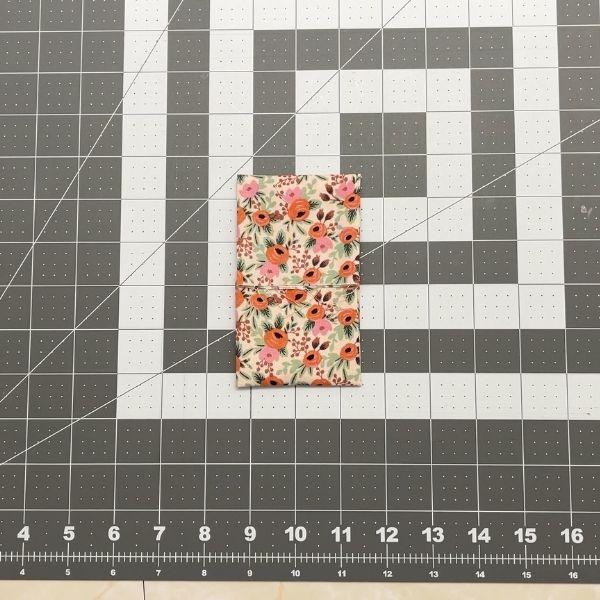
With the glued seam facing up, fold one short end over by a third, add glue, and fold the other short end over so they overlap and press down.
6- Make the Center Piece:
Follow step 4 using the smaller fabric piece.
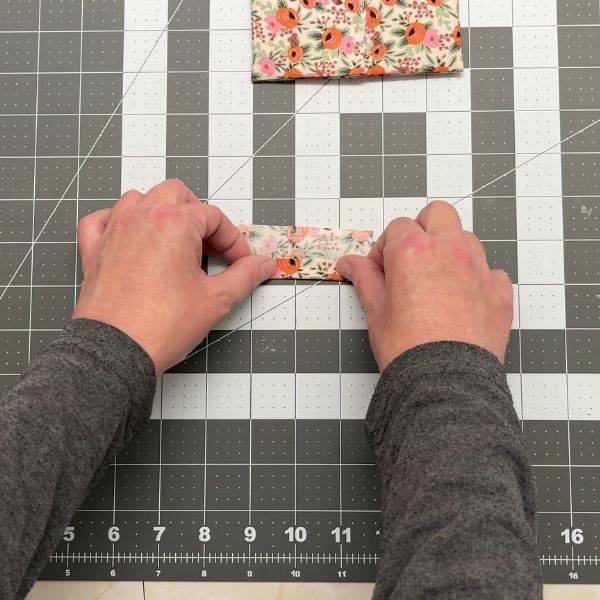
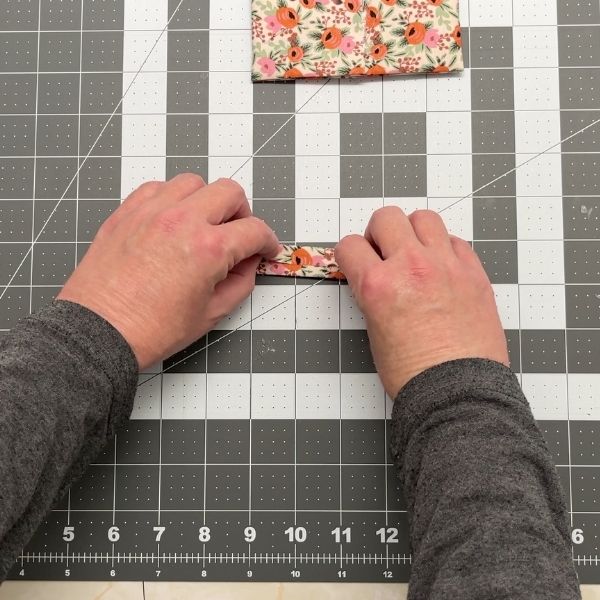
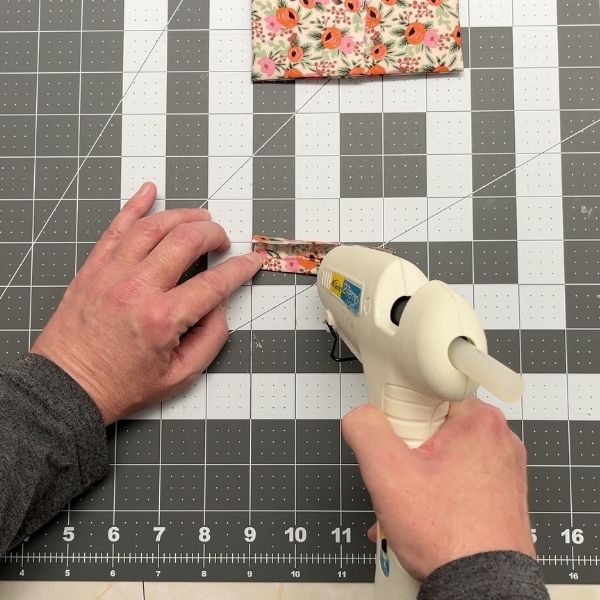
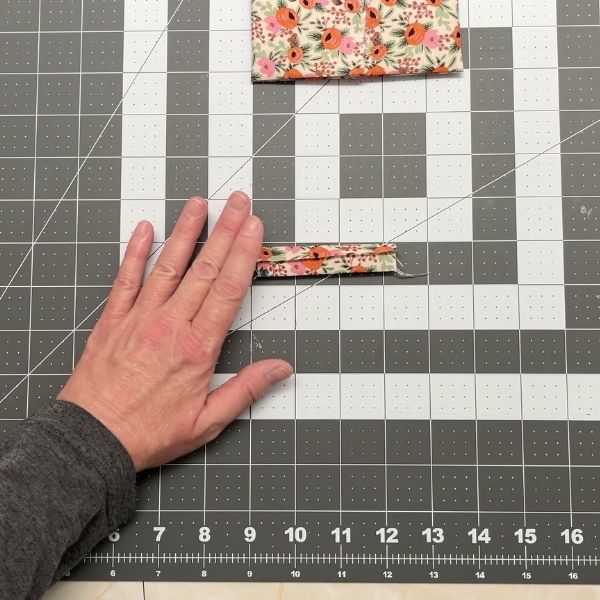
7- Shape the Bow:
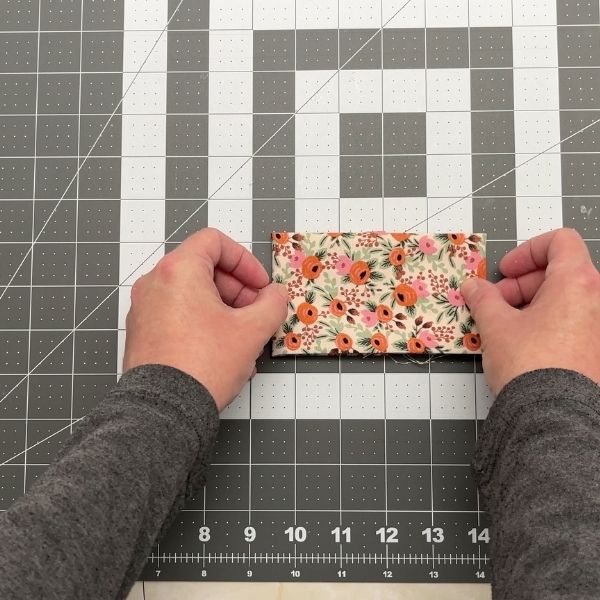
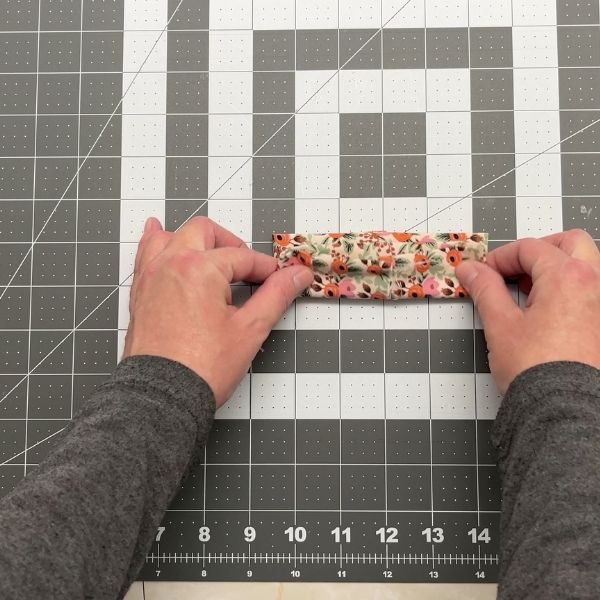
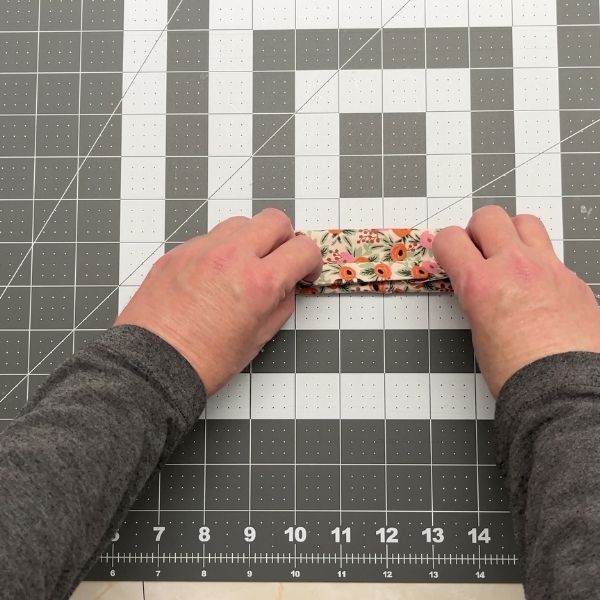
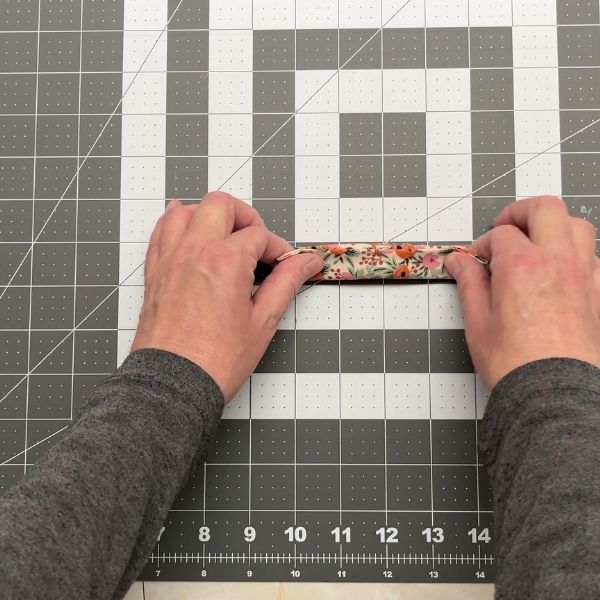
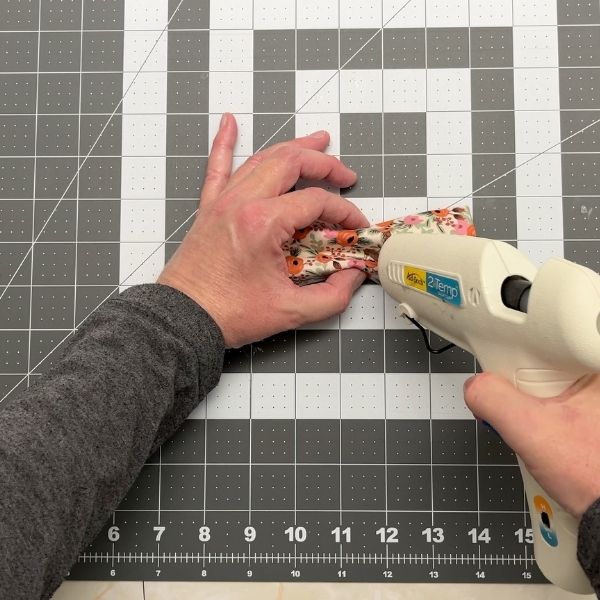
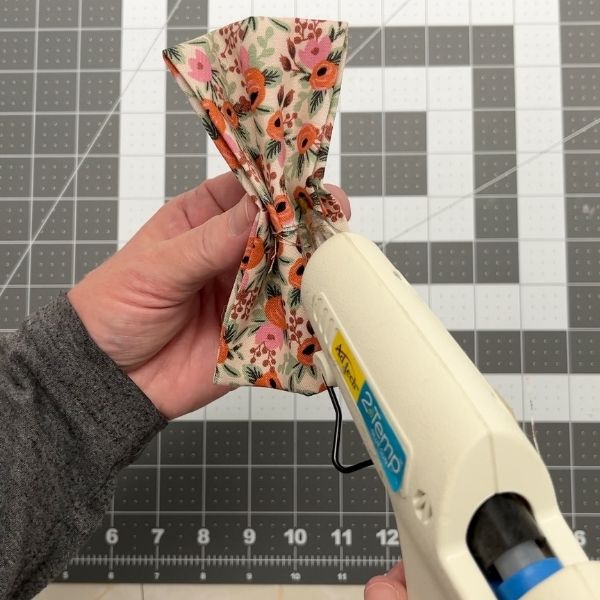
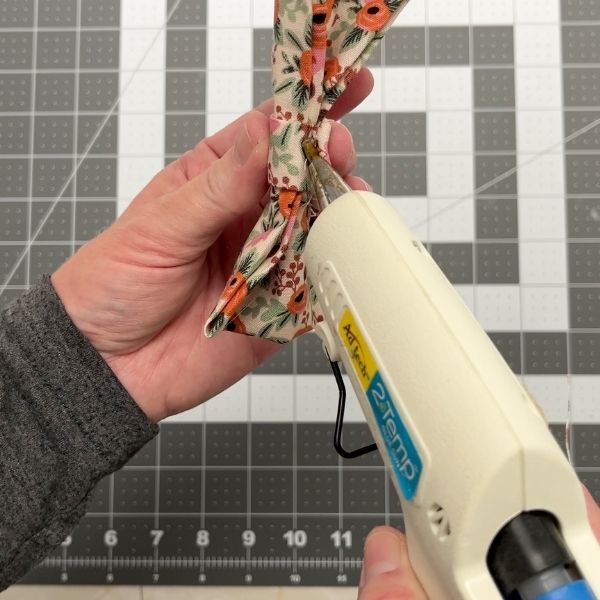
With the right side facing up, fold the main bow piece in half, then fold each side down in an accordion style. Add a dot of glue in the fold on the front of the bow to help hold it together. You can also add a dot of glue in the folds in the back.
8- Attach the Center:
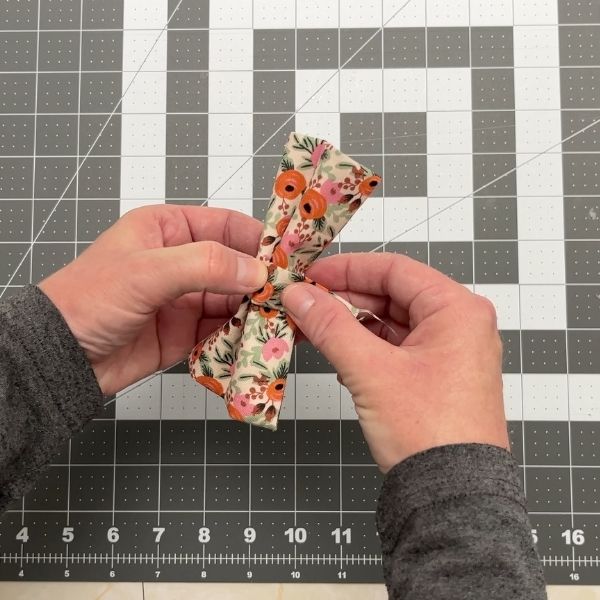
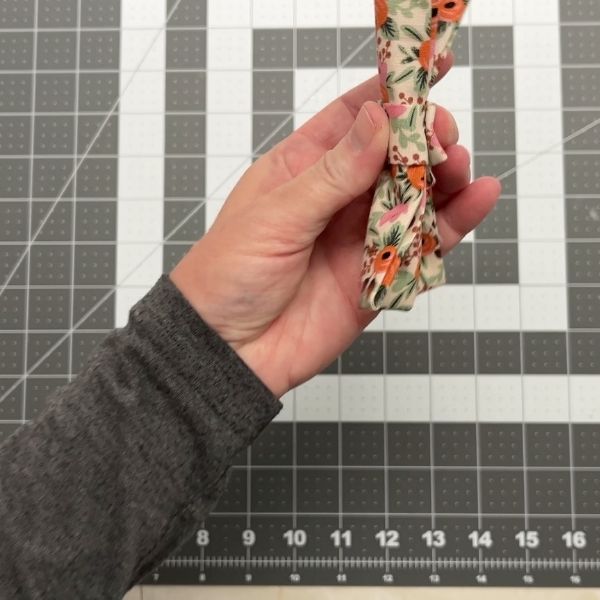
Wrap the smaller center piece around the middle of the folded bow and glue the ends at the back. You can fold down the end of center piece to make it look cleaner if you want. If really doesn’t matter because the hook and loop strip will hide a lot of the unfinished bits. I’m picky so I fold over the end to make it look prettier.
9- Adjust the Shape:
Adjust the center piece as needed for to make sure that its in the middle of the bow tie.
10- Secure the center piece:
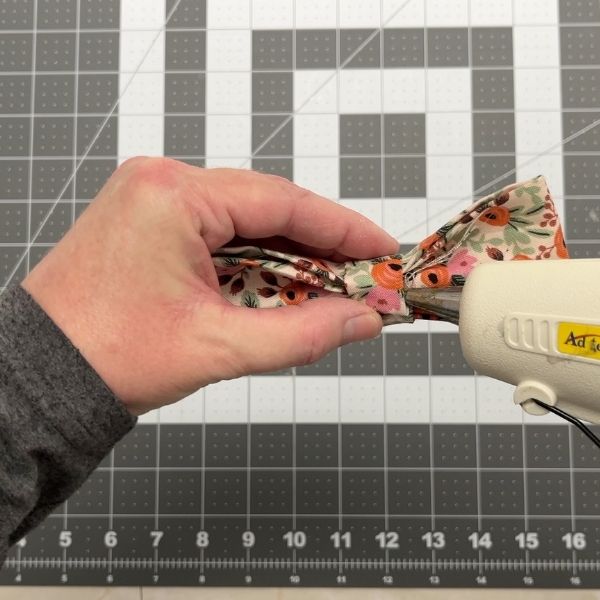
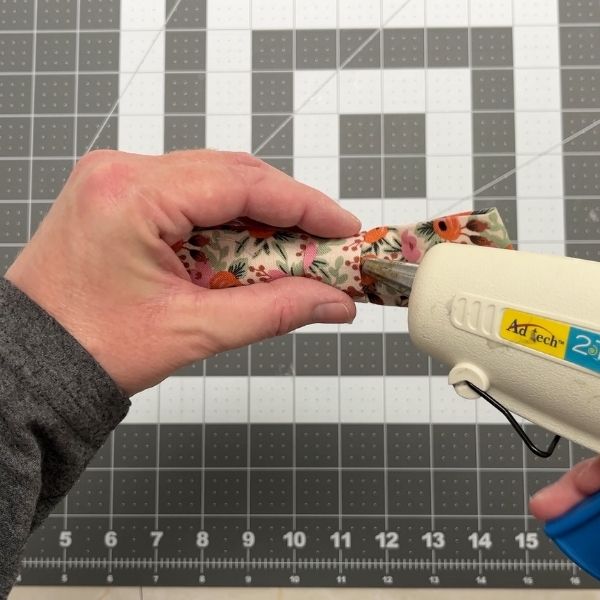
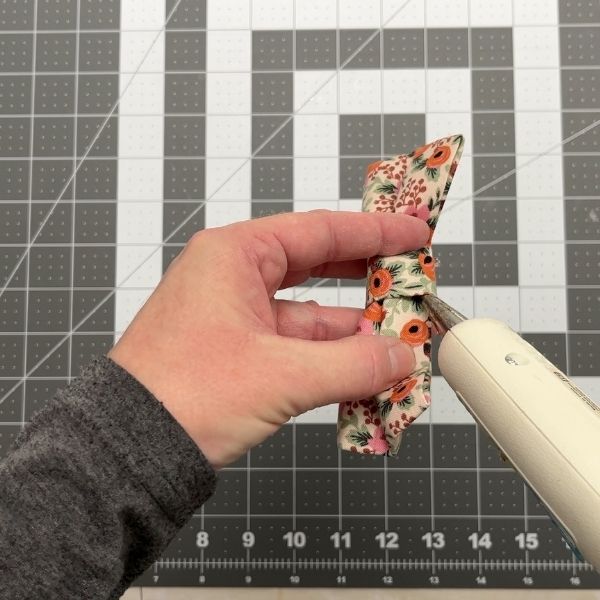
Add a dot of glue underneath the center piece on the back and the sides so it won’t slide around.
11- Attach the hook and loop strip:
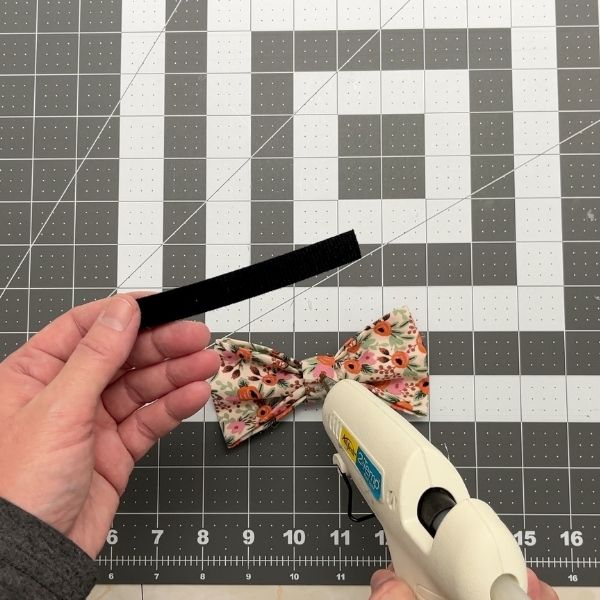
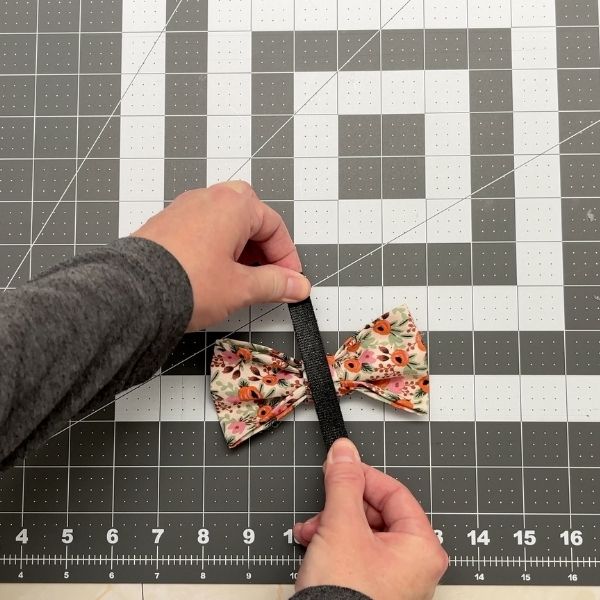
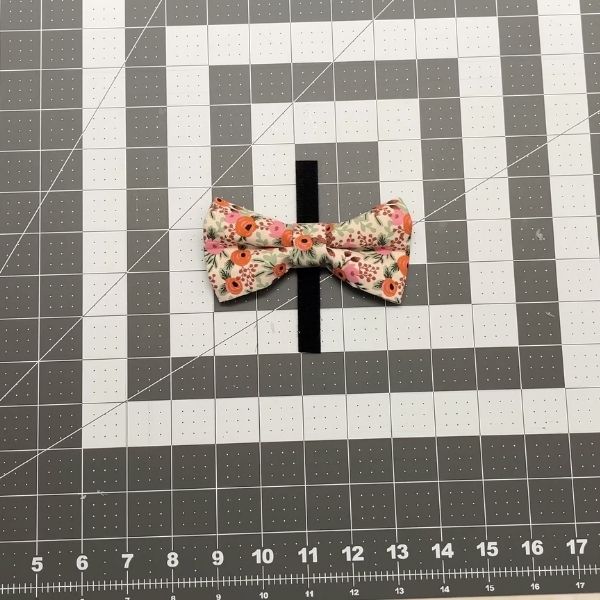
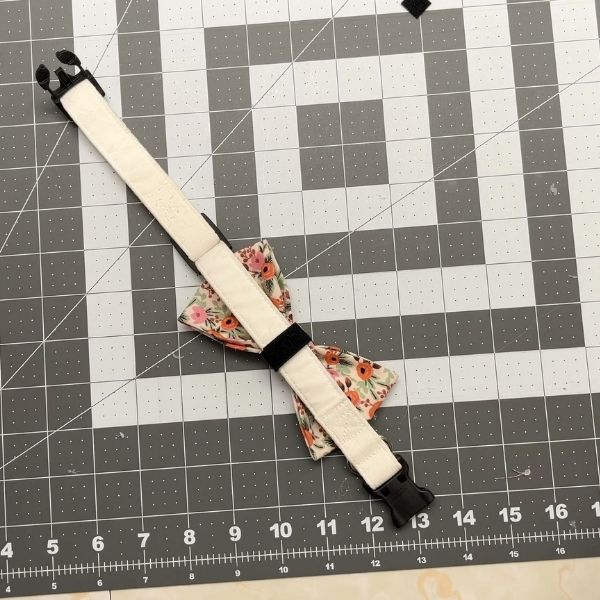
Glue the fuzzy side of the hook and loop strip to the back seam of the center piece. If you want to add a small piece of fabric of felt over the middle of the hook and look strip to make it look prettier, go for it.
12- Let Glue Set:
Allow a few minutes for the glue to fully dry.
13- Attach and Admire:
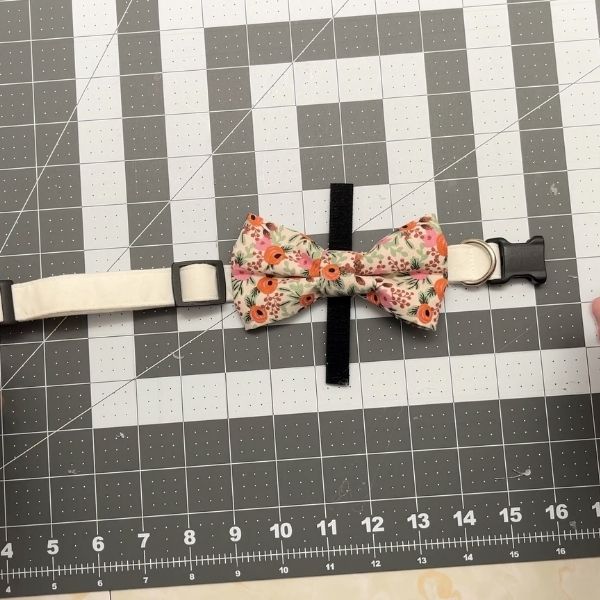
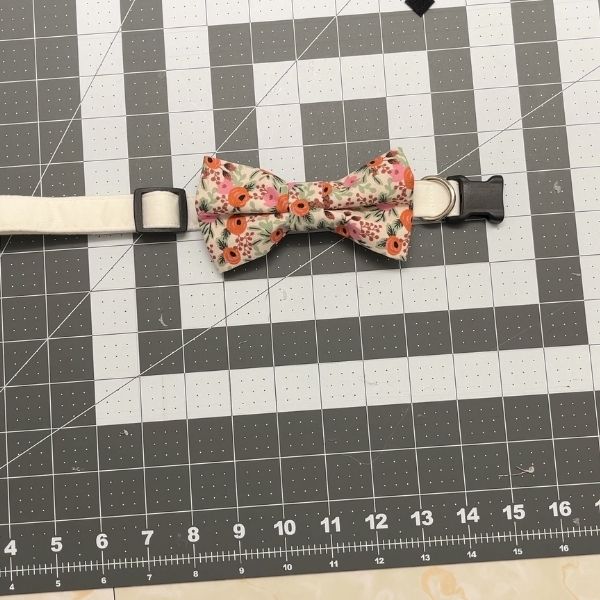
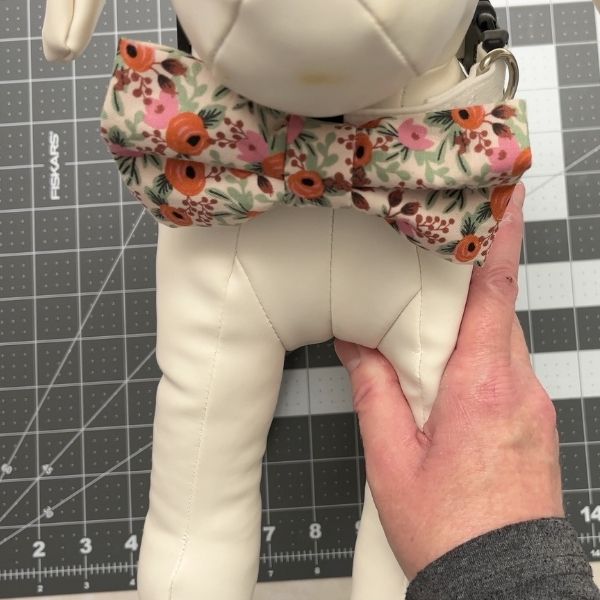
Wrap the hook and loop strip around your dog’s collar, trim the hook and loop strip to fit the collar, secure it, and snap some cute photos of your pup in their new bow tie!
Was this tutorial helpful? Leave me a comment and let me know!
We would love to see your new dog in their new bow tie! Post a photo on Facebook and tag @angelandlilystudio or on Instagram @ozzyandshana.
If you would like to buy a bow tie that is already made for you, you can shop here or on our Etsy shop, for now while we are still on Etsy!

Discover more from Angel and Lily Studio
Subscribe to get the latest posts sent to your email.